Installing Tilton Pedals in a ’69 Camaro
Written by Jason Wahl. Photos by Curt Biro.
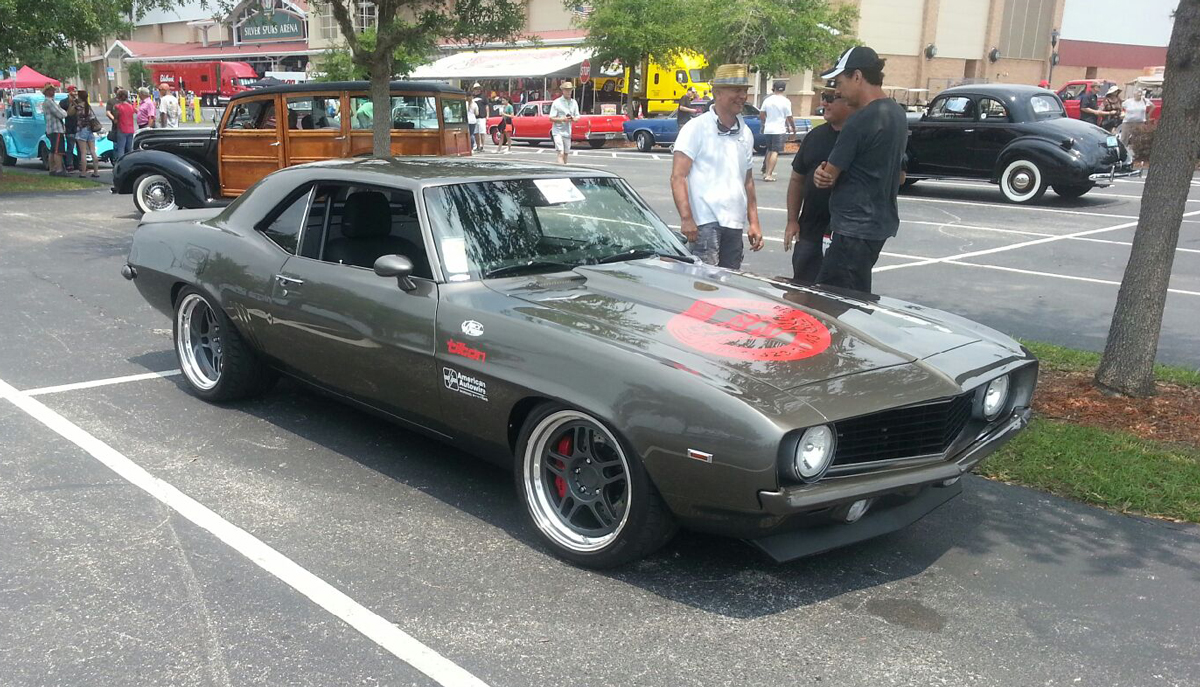
The 1969 Chevrolet Camaro might just be the most popular muscle car of all time. It’s hard to imagine anyone’s “Top Ten” list that doesn’t include a ’69. And good luck finding a cruise-in anywhere in the USA that doesn’t have at least one. While most enthusiasts go for a street/strip version, Curt Biro of Muscle Express in Jupiter, Florida took a different turn. His “pro-touring” metallic gray ’69 is set up for road racing but built at a level of quality that would make it at home in any show. This meant replacing the OEM pedals with an aftermarket assembly suited to high-performance applications.
Biro called Tilton Engineering looking for a pedal setup. He had purchased a competitor’s pedal assembly, but returned it due to quality problems. “The pedals were so crooked that the difference between them changed by 3/8″ from the top to the bottom. So I shipped those back and they sent me a ‘better’ set that was 5/16″ off. The Tilton set I bought was not only perfect quality, it had many features the other set didn’t. The biggest for me was the adjustment for length.”
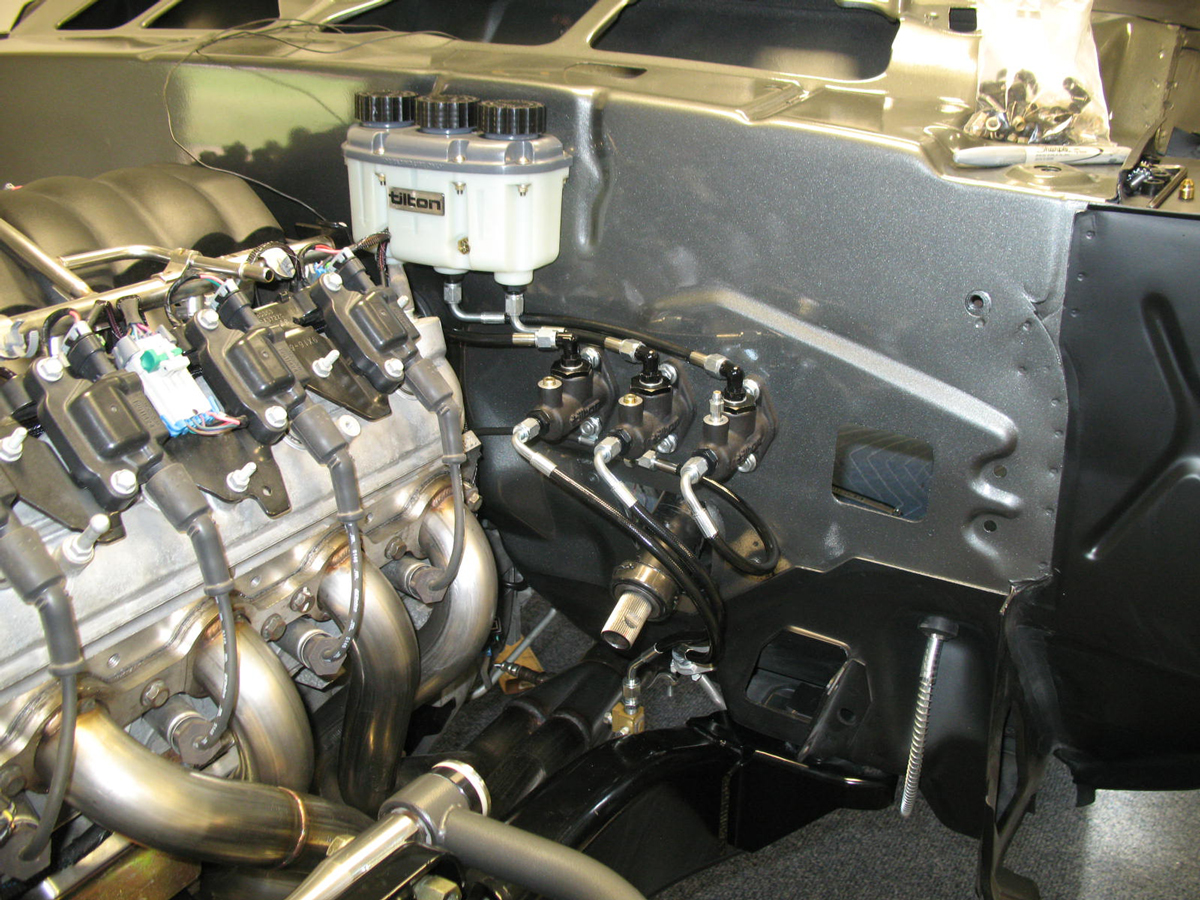
The adjustable length of the Tilton pedals allowed Biro to mount the master cylinders higher on the firewall and avoid the steering mount. This also put the master cylinders and brake lines farther away from the exhaust headers of the LS motor he was using.
Strongly and rigidly mounting the frame of the pedal assembly into the car is extremely important. In a panic situation, a driver can exert a great deal of force into the brake pedal. Those forces are multiplied by the pedal’s motion ratio and by the time they get to the mounts, they can easily be in excess of 1000 pounds. The whole pedal system, including the mounts, also need to be very rigid so that flex is kept to a minimum. A flexing pedal does not give the driver good feedback when the tires are at the limits of traction.
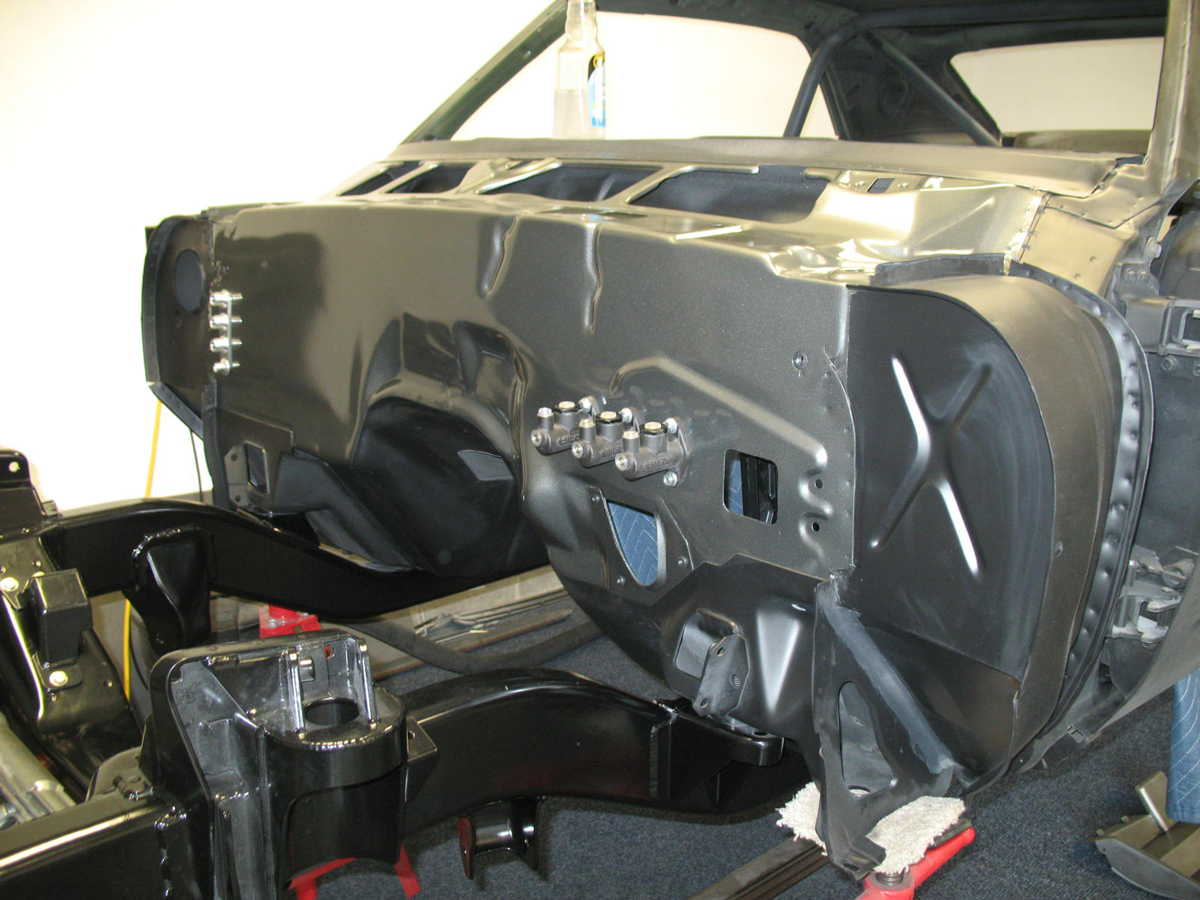
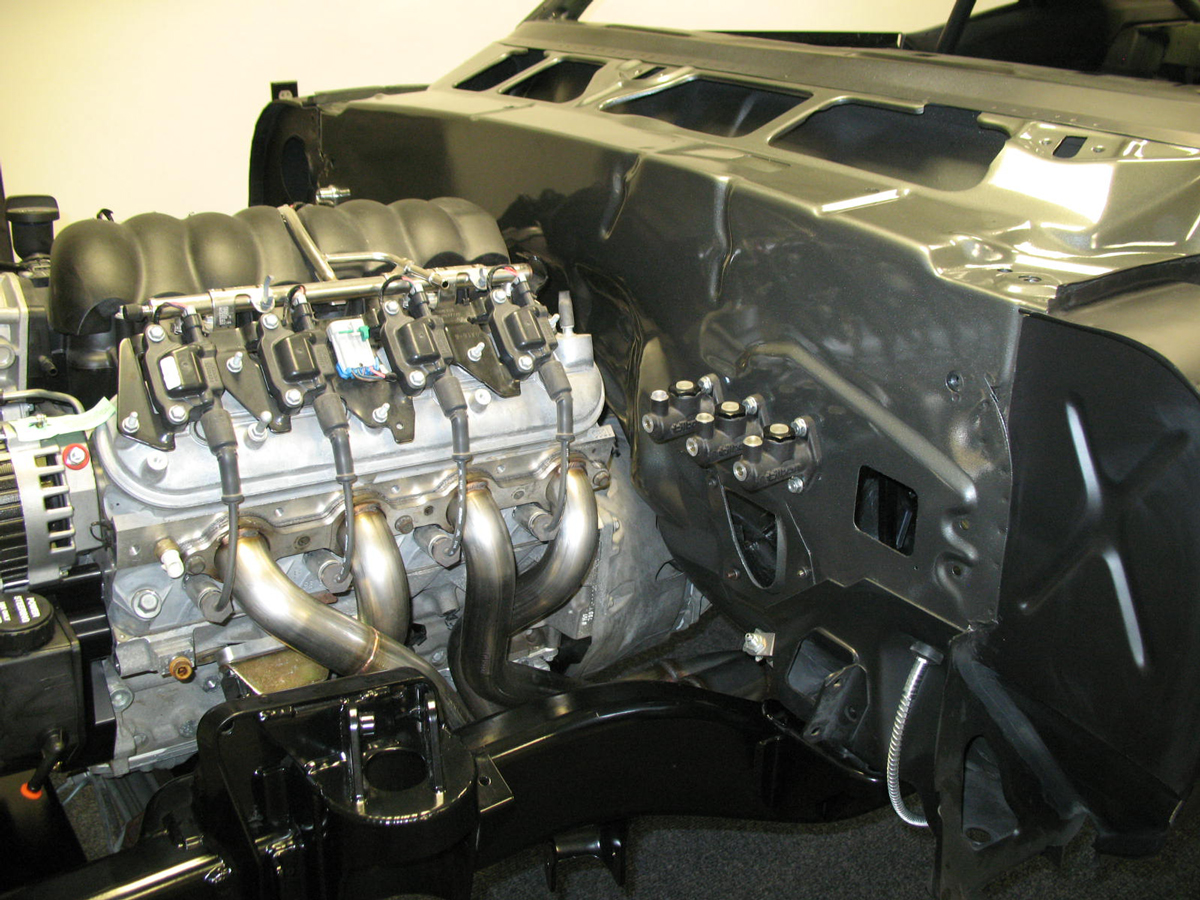
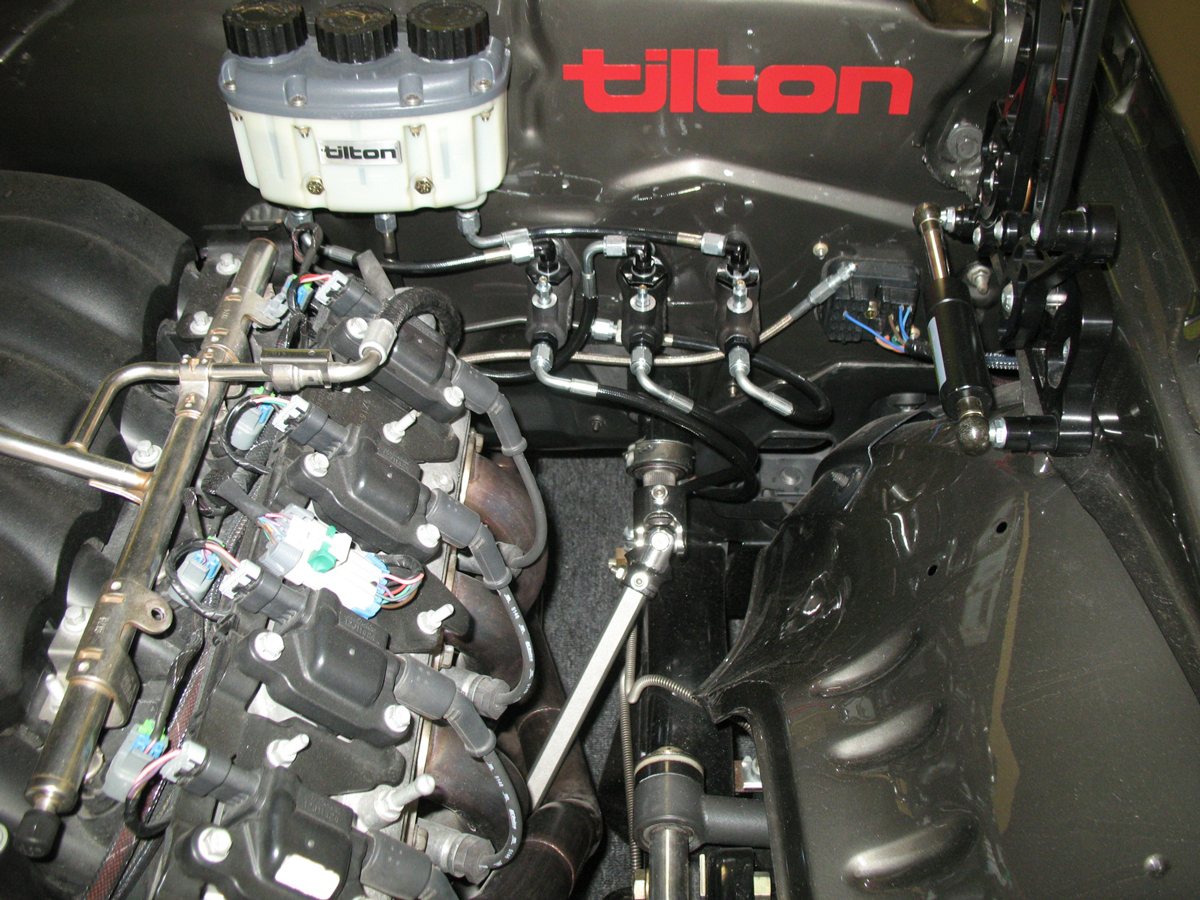
Tilton’s pedals were designed for racecars that are either tube-frame in construction or have a full roll cage, either of which give the opportunity for robust pedal mounting. Biro’s car has neither, so installing Tilton pedals would require some clever fabrication. He first cut the OEM master cylinder mounting portion of the firewall away and replaced it with a .105″ thick solid steel plate. He then positioned the new pedals under the dash and drilled the firewall plate for mounting the master cylinders. This alone is not enough and his next step was to add two lengths of 1″ x 1″ structural steel angle to the plate. The pedal assembly was temporarily bolted in place, providing the location for where the steel angles needed to be added. These angles extended rearward to the stock steering support, which is tied to the steel dash and is held in conjunction with the upper cowl panel. With the frame of the Tilton pedal assembly bolted to both the firewall and the angles, the result is a strong, rigid and very clean mount. Looking at the finished product, it’s hard to believe that the three master cylinders weren’t put there by GM engineers four-plus decades ago.
Here’s a step-by-step breakdown of Curt’s process:
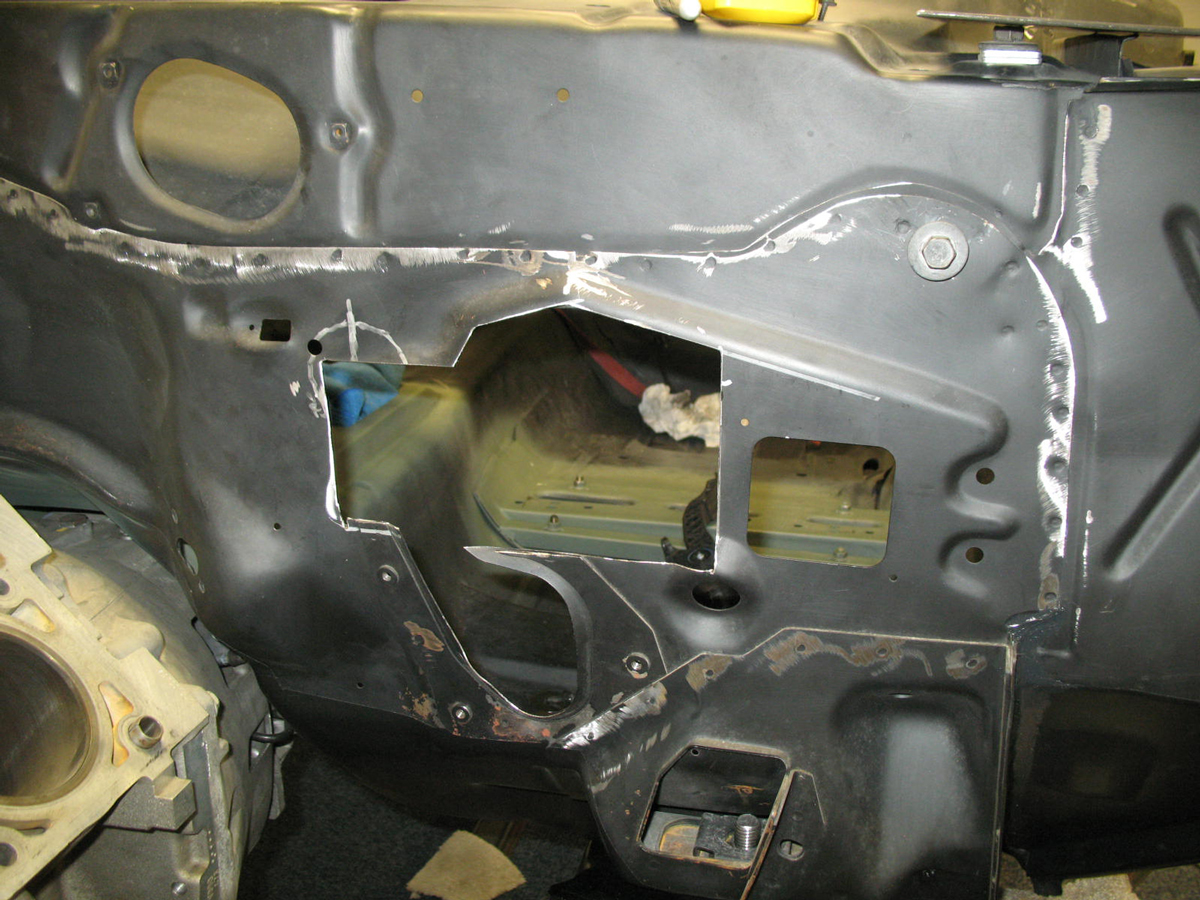
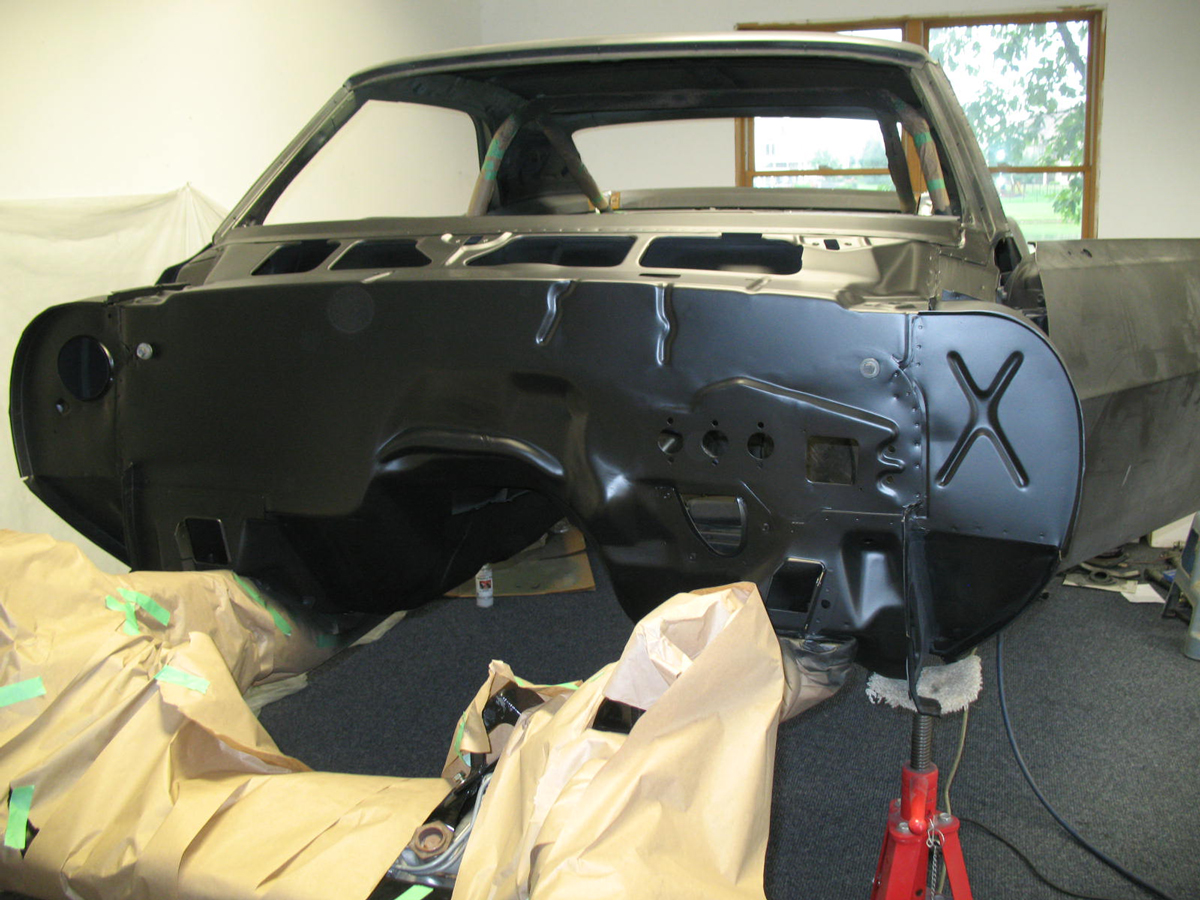
Step 1: A hole is cut in the firewall, removing the original master cylinder mounting and part of the steering pass through hole.

Step 2: A steel plate is cut to fill the hole.

Step 3: The master cylinder mounting studs are temporarily removed from the Tilton pedal assembly (P/N: 72-607), allowing the pedal frame to sit flat against the inside of the new plate. The pedals are located to clear the steering and checked for level.

Step 4: The master cylinder locations are marked and drilled from the inside out. Note the extra slots cut into the firewall. These make it easier to bend the firewall to better conform to the plate.

Step 5: With the studs reinstalled and the pedal frame bolted to the firewall plate, the two steel angles can now be fitted. They are welded to both the firewall plate and to the steering support under the dash. High quality welds are critical.

Step 6: Everything is welded together and smoothed over. This is where fabrication experience really shows.
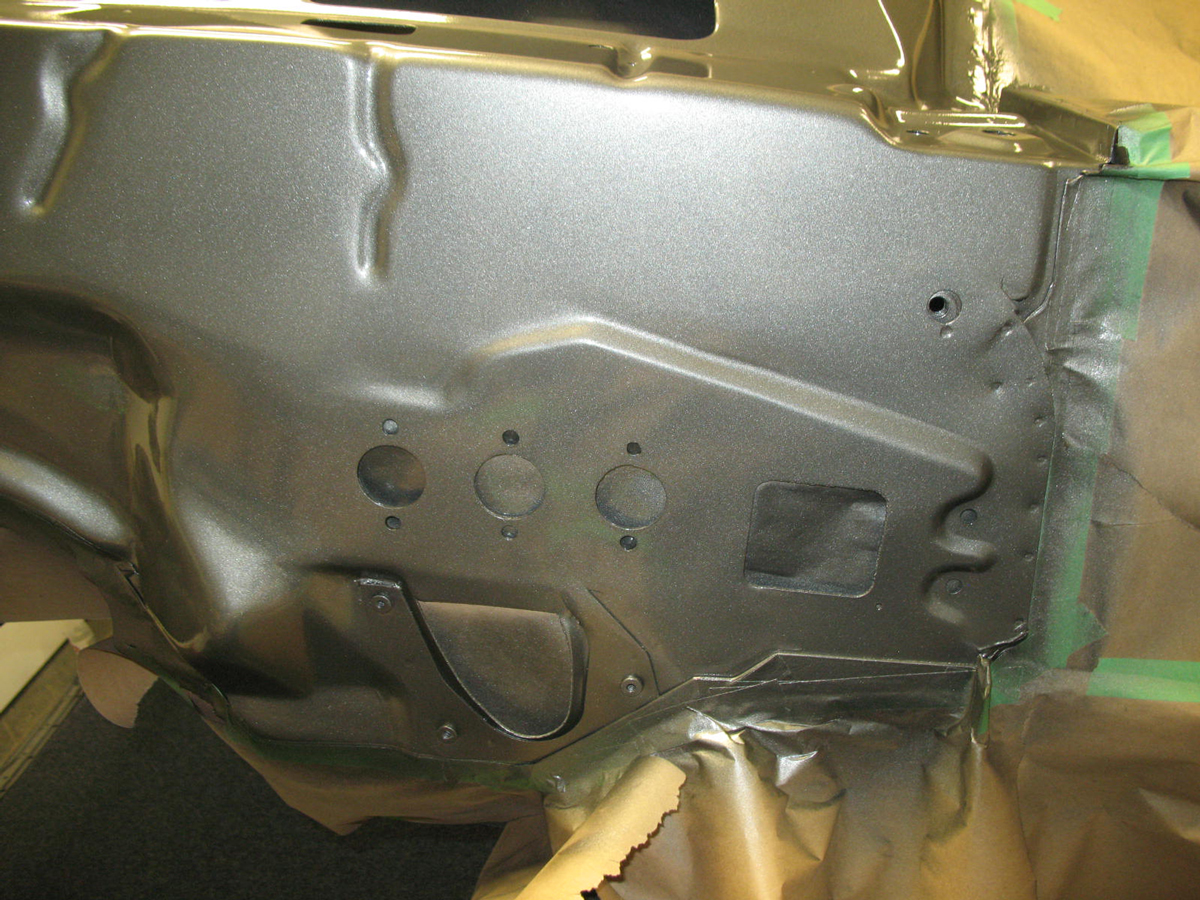
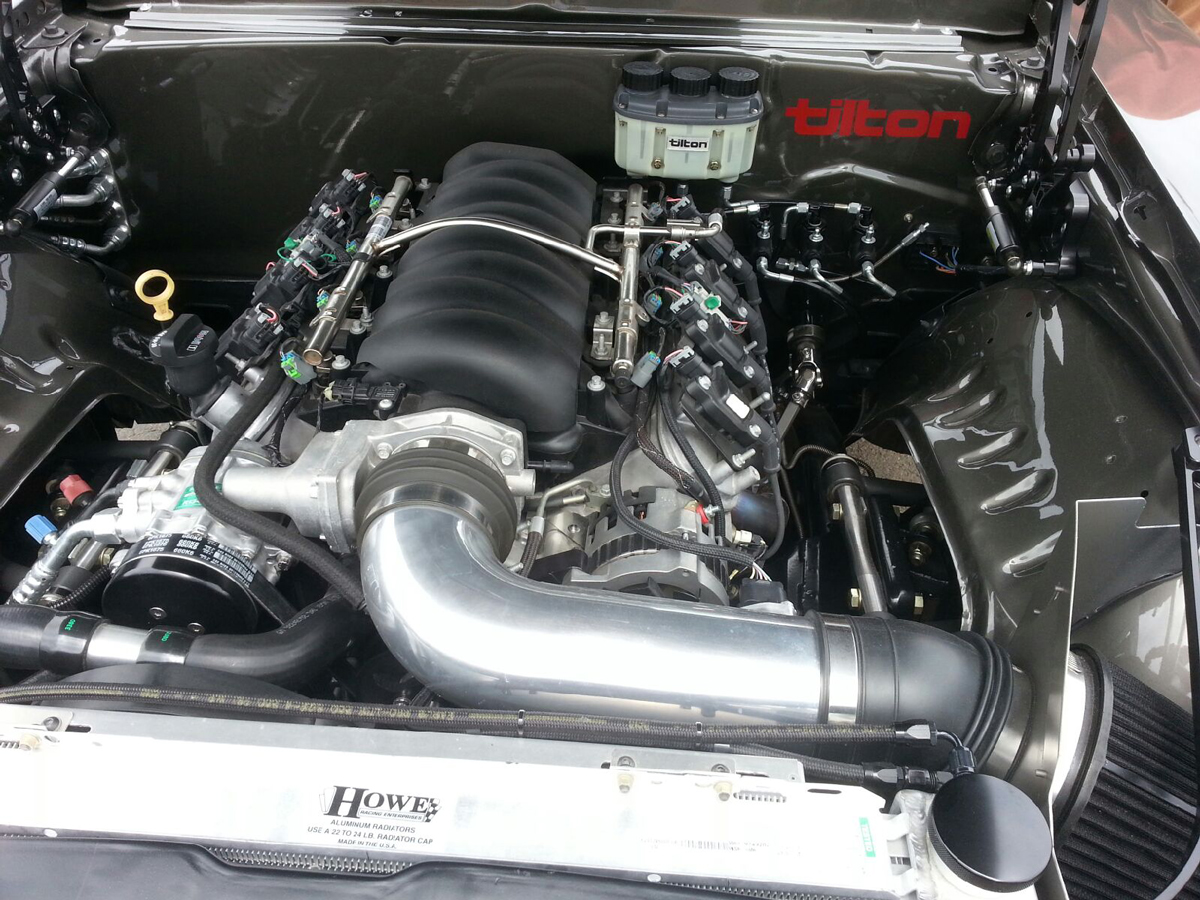
Step 7: With primer and paint added, it’s hard to believe it didn’t leave the factory that way.
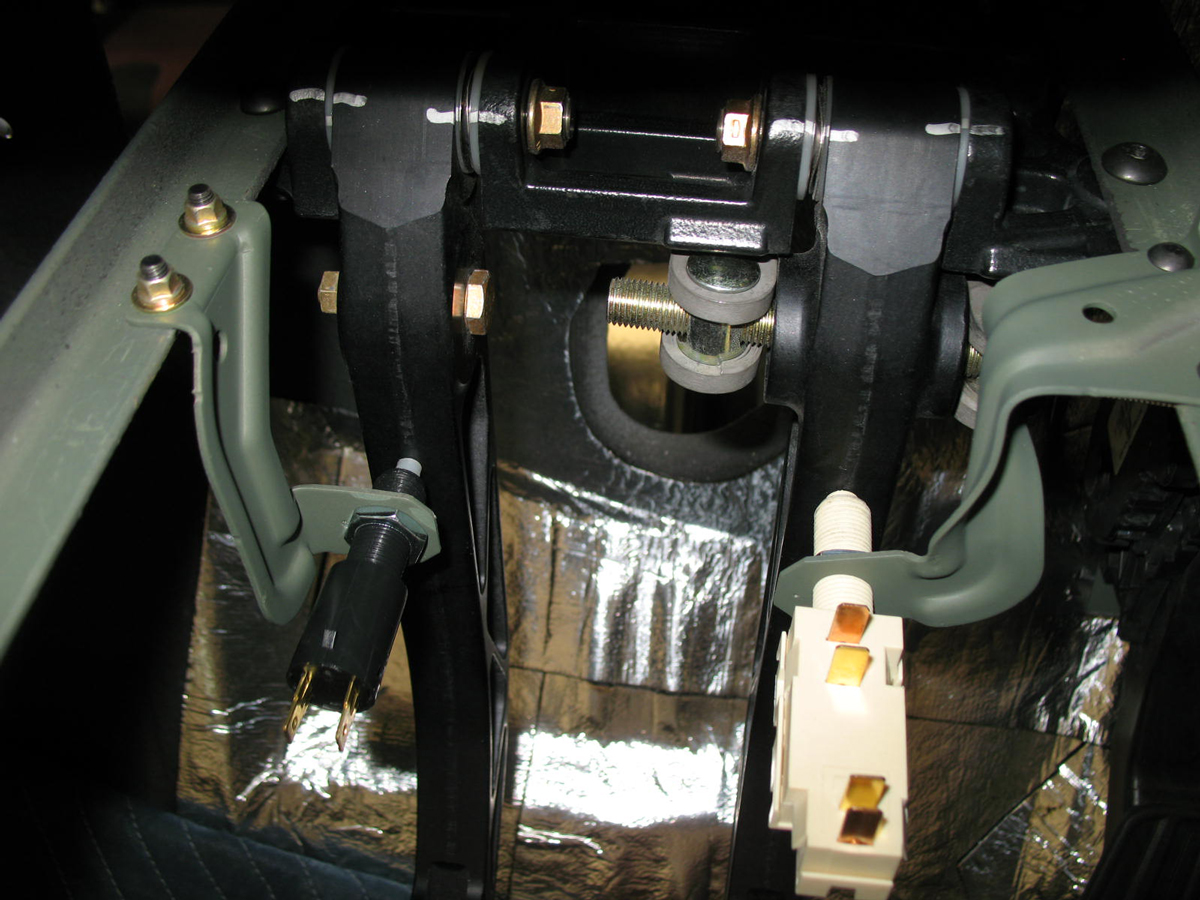
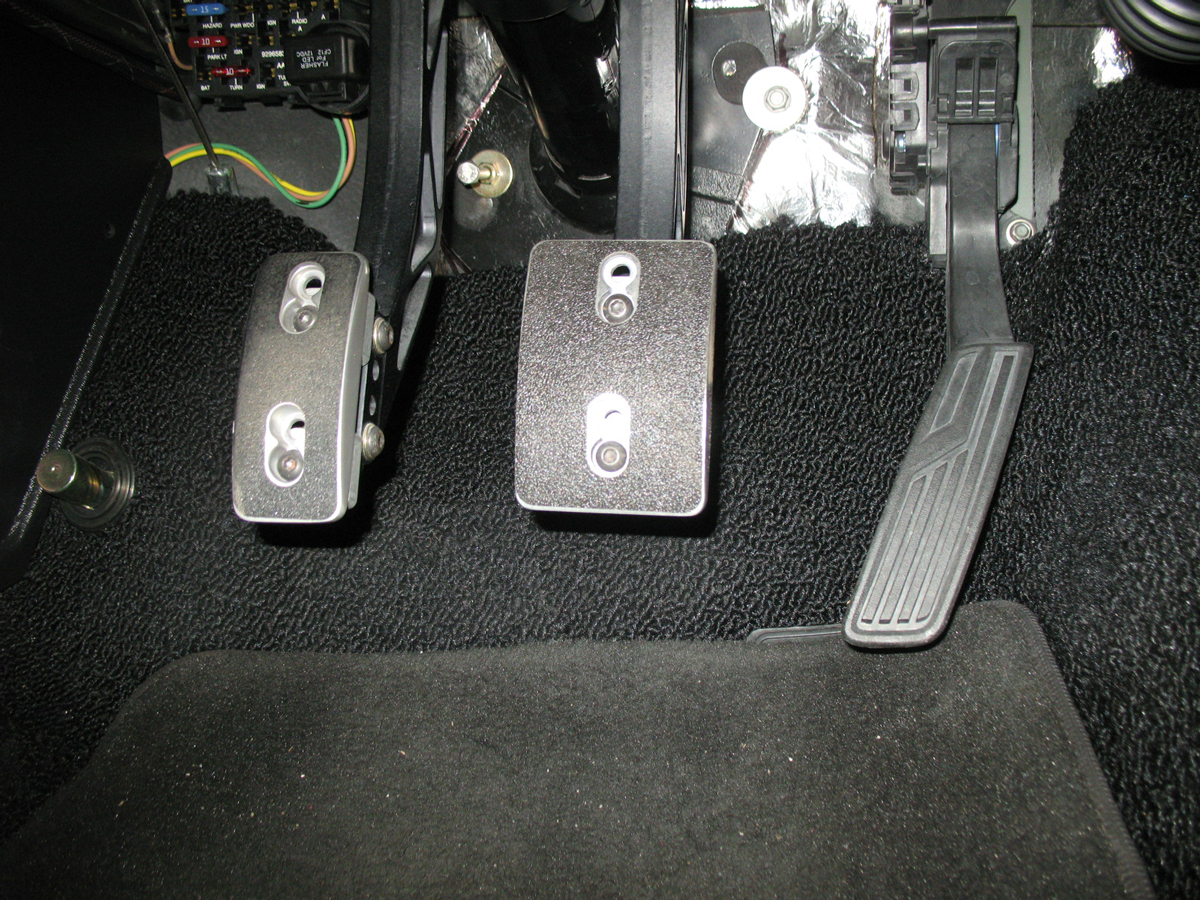
Note the brackets used to mount the mechanical brake light and the clutch-starter safety switch . . .

. . . and the simple but effective clutch stop. This bolt is critical for adjusting the throw of any hydraulic clutch.

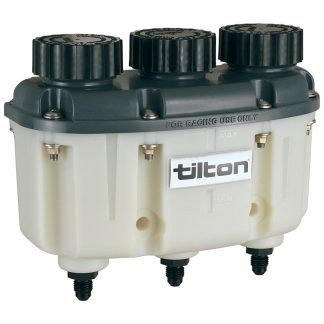
Everything plumbed in place. Biro chose Tilton’s 76-series compact master cylinders and Tilton’s 3-in-1 reservoir to complete the job.
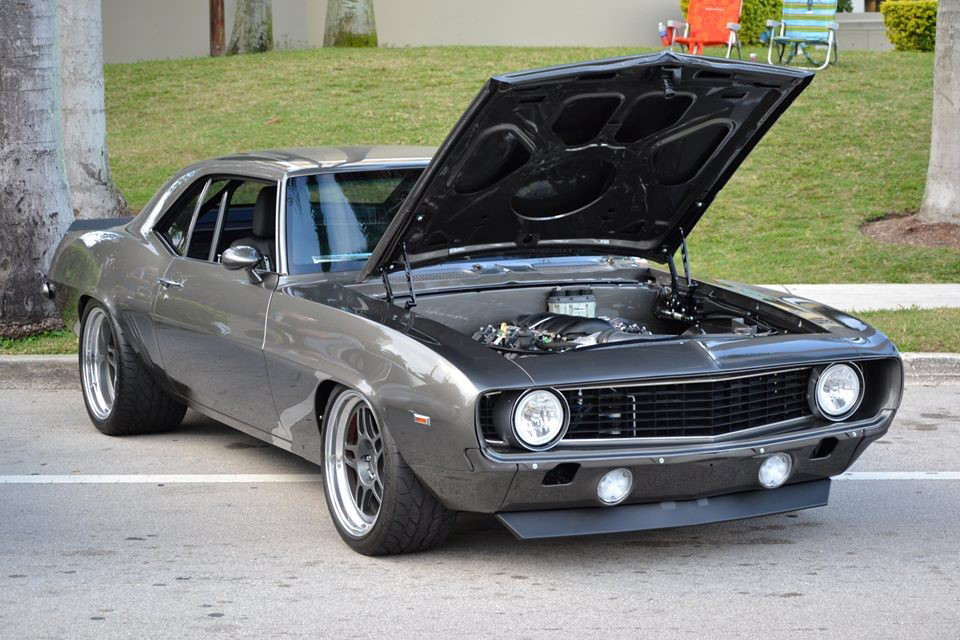
The finished product. Although she looks pretty enough to be a show queen, she also runs track days and autocrosses. Be sure to check out Curt’s Facebook page to follow along with all his projects: https://www.facebook.com/pages/Muscle-Express-Inc/185908474806280.
Bonus photos:

Tilton products used:


Jason Wahl is president and CEO of Tilton Engineering, where he’s worked for the past 17 years. Jason got his start in racing during college, captaining the SAE Formula and Baja teams of Akron, OH to three international championships. Outside of racing, Jason is an avid outdoorsman and enjoys spending time with his wife and two young children.
 P65 Notice